Tomatoes From Seed to Sauce – Part 4 – Time to Plant!

Starting tomato seeds inside is much the same as starting any other seed. Why do we do it at all? Often, it’s to get a head start on the season or if the growing season is too short to get any tomatoes before a fall frost. Sometimes you just want that variety that none of the local garden centers ever offer for sale. Check out our Starting from Seed “The Inside Scoop” on our website for all the specific details and supplies.
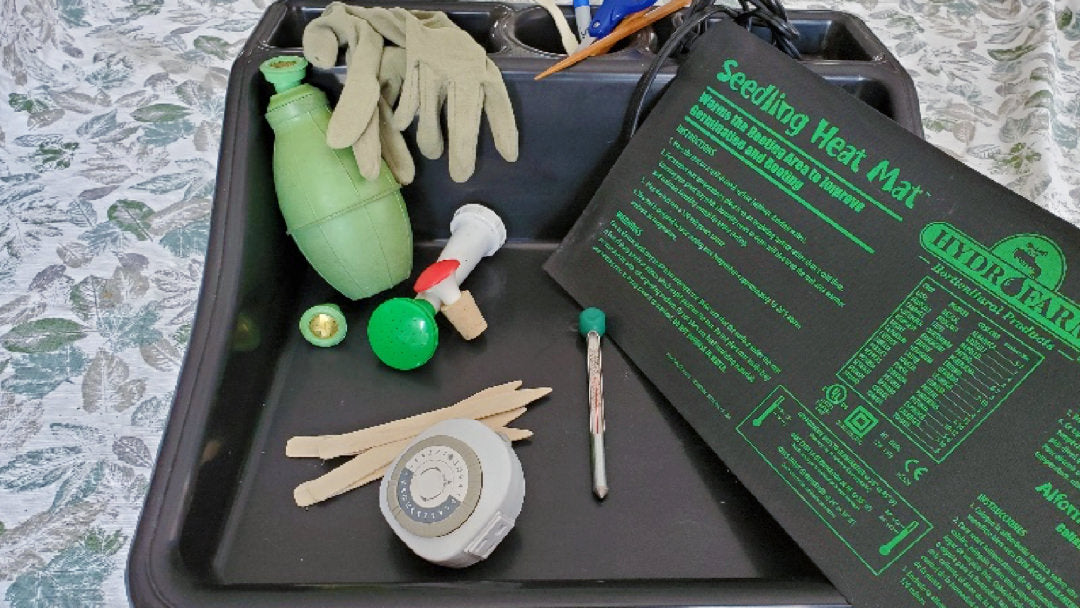
It’s finally that time! When it’s 4-6 weeks before your last frost date. You’ve chosen the varieties, made the space for them to grow, have the soilless mix, containers, lights and a heat mat. Let’s go over the process for tomatoes.
There are many different seed flats and equally as many ways to fill them with soil and seeds. For tomatoes, I recommend a seed flat with individual cells with a tray which can hold water. Or an ‘all-in-one’ seed starting system which includes a self-watering tray with a wicking mat, and a flat of divided separate cells. Some of these systems even have a grow light included; these keep everything neat and tidy (see photo below).

Seeding flats that have individual cell that are at least 1 ½ square work well to start tomatoes since they usually need to be transplanted at least once before they can move outside to the garden. Another seed starting system is soil blocks, which you’ll see in the following photos but I’ll not explain this time.
First, moisten the soilless mix with warm water until it’s damp ‘like a rung-out sponge’. Wetting the mix before you put it in the cells is messy, but well worth it. If you don’t, dry soilless mix will bubble out of the seed cells when you first water. Place your seed flat in the tray or on the wicking mat before you start to fill it with the damp mix. You don’t want the soil to fall through the holes when you move the flat. Fill the cells to the top and press the soilless mix down lightly. Unless you are prepared to sacrifice the extra plants, I recommend planting only 1 seed per cell. I know from experience, that most gardeners cannot bear to cut off the stem of the least hardy baby plant if more than one germinates in a cell. This can lead to trying to transplant very tiny seedlings and often damaging the healthiest seedling left behind. If there is no sign of germination within a week in any one cell, then plant an additional seed in that cell. Press the seed into the soil approximately 1/8 inch.

I use a chop-stick or a pencil to do this. If you use your finger, the seed/soil will often stick to your fingers rather than stay in the cell. Sprinkle a small amount of soilless mix over the top. Most seeding flats have anywhere from 12-48 cells and you can plant a few different varieties in a single flat. Don’t forget to label everything with the varieties you’ve planted! When you start moving the flat around, you might not remember which variety is where. (What to do with all those extra seeds in the packet?*). Seeds need to have contact with the soil to germinate; this can be accomplished by sprinkling water lightly on the top of each cell. Then place your flat on a heat mat. Tomato seeds do not need light to germinate, but they germinate best in warm soil. Placing them in the basement is usually fine. Keep the soil moist but not wet. Some people like to put a plastic dome or plastic wrap over the top of a seed flat. If you’re concerned that the cells may dry out, this can be a good idea, but must be removed as soon as the seeds sprout.

If the conditions are right, tomato seeds can germinate in just a few days! As soon as you see green growth from 50% of the cells, it’s time to provide the sun. If you wait too long, the stems will start reaching for brighter light. Place the seedlings under grow lights. Even though the days are getting longer now, a sunny windowsill is not going to provide enough light. Tomatoes need 16 hours of light each day (and they need the dark time too). A grow light on a timer works best, and everything can still remain in a basement.

At this point, they don’t need to be on a heat mat any longer, but it’s time to start providing good air circulation to prevent damping off disease. A small oscillating fan works well. Air temperature that is too warm (above 60° at night or above 70° during the day) can also make the stems tall and leggy. Keep the soil moist but not wet. Soggy soil can lead to disease problems and poor root growth. In the beginning, you will not need to water very often. As the plant roots fill in the soil area of each cell, you will need to water more often. If you’re using a self-watering system with a wicking mat, just check the reservoir regularly.

Inside that hard seed coat is completely self-contained next generation plant, including enough food to keep growing for a few weeks. Once you see the first true leaves; the ones that really look like tomato leaves, it’s time to start feeding your plants. A ‘seedling’ fertilizer (2-4-2) is optimal, but any water-soluble fertilizer that you have on hand is fine, simply use at ½ the recommended dilution.

As you visit with your seedlings, pet them. Did I just hear you laugh? Many people do, but it’s a good practice. Those wimpy seedlings are going to have to move outside eventually. By petting them regularly, their stems will become stronger and better able to adjust to whatever Mother Nature sends their way when they move into the garden. So, go ahead and laugh, then pet your babies when no one is looking!
*Tomato seeds can last many years if kept in a cool, dry, and dark. I recommend keeping the left-over seed in their envelopes and place them in a canning jar with a desiccant pack (like the ones you find in new shoes or a vitamin bottle). Place the jar in a cool dark place – a basement works great. It’s best if the seeds are not kept in a freezer. Seeds are alive and can freeze to death if kept in sub-zero temperatures for even a short time.